Compressed, optimized, and well-named images or media are important in SEO optimization. Suppose you were unaware of it and uploaded some files without properly naming them. A quick concern that will be raised in your mind will be how to rename images in WordPress.

Remember, once you upload the images in WordPress, it won’t let you rename them. That’s why you should be careful at first, as WordPress doesn’t offer the opportunity to rename images from the admin area by default.
So, how would you do so?
Don’t worry; in today’s guide, we will discuss why you should rename or resize images in WordPress and how to do so.
So, without further ado, let’s dig in.
Why You Should Rename Images in WordPress?
Renaming images in WordPress is important for several reasons:
Improved SEO
First, you should rename media files or images because it helps improve SEO. It’s because search engines like Google use image filenames to understand the content of your webpage. That’s why using relevant keywords in your image filenames can help your images appear in search results for those keywords.
For example, a filename like “new-york-skyline.jpg” is more informative than “DSC00789.jpg” and helps search engines understand the image content.
Accessibility
We all know that properly named files are easily accessible. However, it is also noted that meaningful filenames make your website more accessible to users with disabilities who use screen readers. It means descriptive filenames provide context about the image content, which helps visually impaired users understand the image.
So, screen readers can read the filenames of images out loud, which helps them understand your images’ content.
Organizational Benefits:
Suppose you need to access a media file or image after some time, but as it is not properly named now, you will find it difficult to access.
So, renaming images helps you organize your media library more effectively. Instead of generic words like “IMG_1234.jpg,” use keywords in your filename. This will help you to find a specific image when you need them.
Prevents Confusion
If you upload multiple images with similar names, keeping track of them can be difficult. This is where renaming your images with descriptive filenames can help prevent confusion and make it easier to manage your media library.
How to Rename Images in WordPress?
Before we dig into how to rename images in WordPress, it’s important to know that there is a difference between renaming an image or an alt text or caption. They are easily doable. However, renaming needs some steps to follow. And here are they.
Here are two ways to rename images in WordPress after Uploading them.
- Use a Plugin
- Using FTP
1) Rename images Using a Plugin
Another easiest method to rename images in WordPress is by using a plugin. The process is straightforward and effortless.
All you need is;
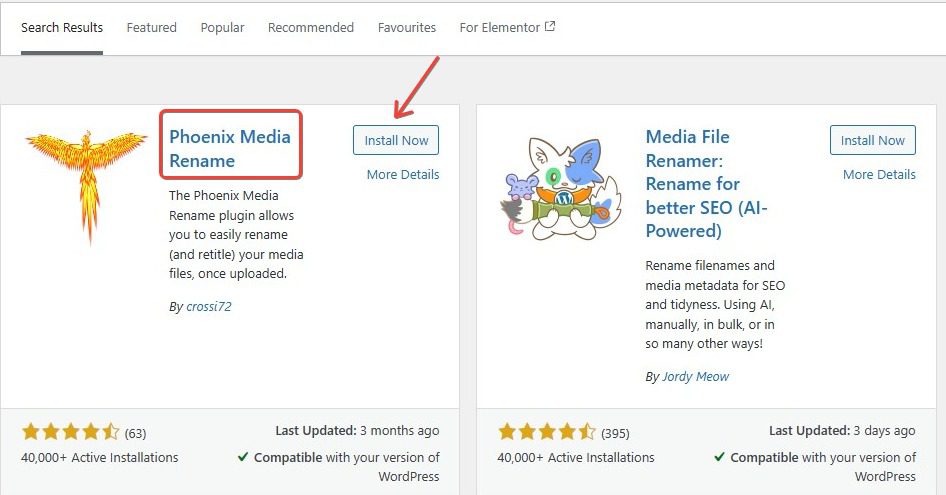
1- Install and activate the plugin. The one we recommend is “Phonix media rename.” This is one of the best plugins we have ever experienced to rename images. It will save you tons of time.
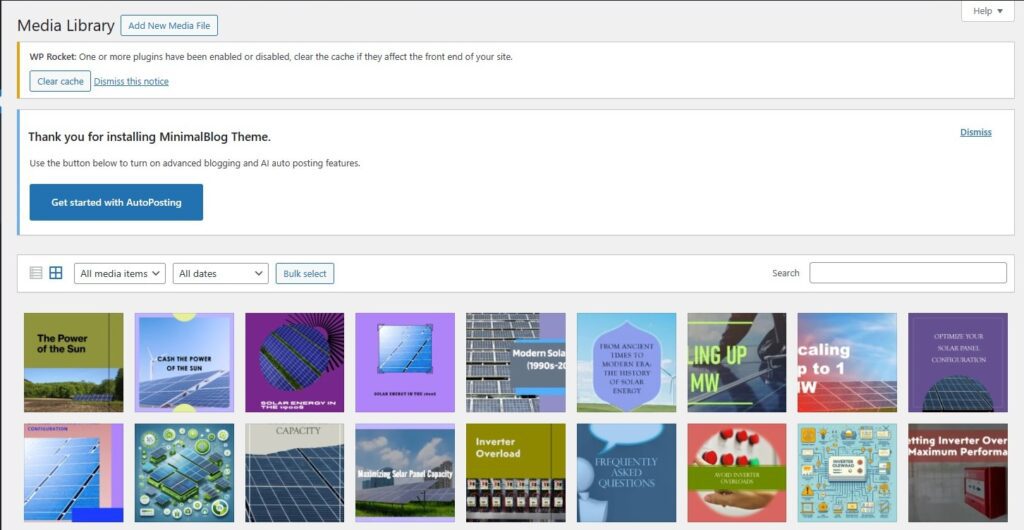
2- Once done, go to your media > library from the left side panel, and you will see additional information under each image. Here, you will also see an option for renaming an image.
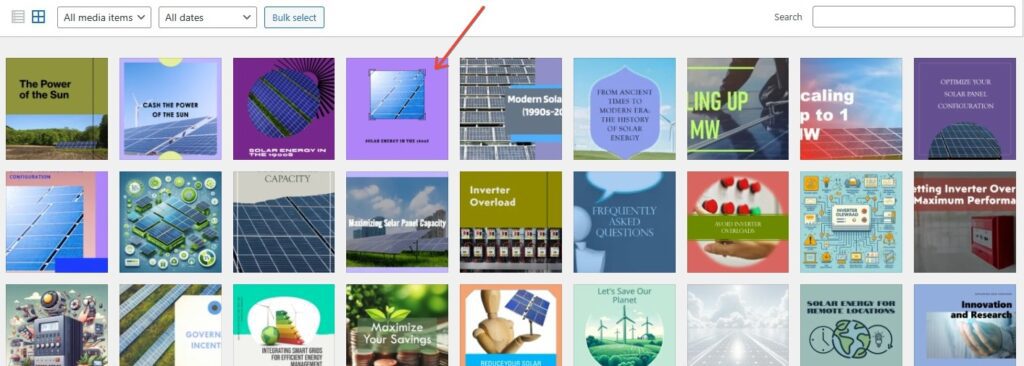
3- Find the image you want to rename and click the edit button.
4- A screen will appear where you’ll see the filename field at the bottom. This is exactly where you will edit the name.
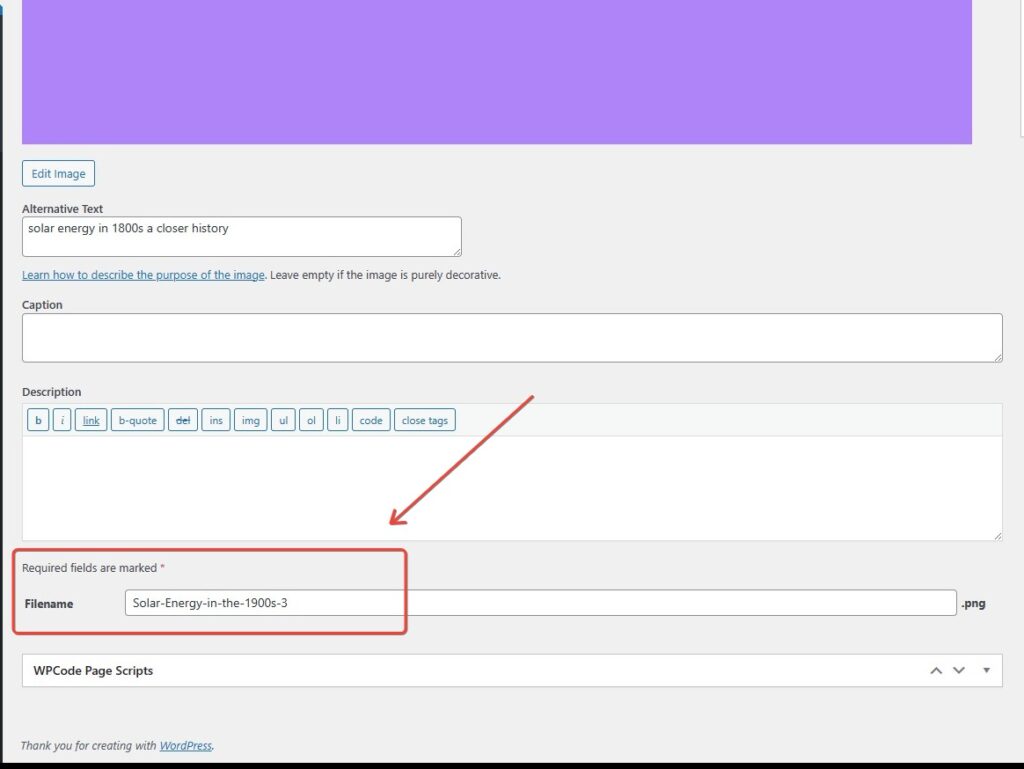
5- Give your desired name and click on the update button to save changes.

6- Remember to use dashes between words and write in lowercase cases.
How to Rename Images in Bulk in WordPress?
You may need to rename images in bulk; doing them individually will cost you lots of time.
If so, here is the solution.
You don’t have to use any other plugin, as the Phonix media rename plugin will also let you rename images in bulk.
1- Activate the plugin and go back to the Media > Library.
2- Here, you must shift from the grid view to the list view at the top left corner.

3- Now, you will notice a file name column.
4- Go through the column and change the filename field.
5- Once you are done, go to the top left of the screen and choose the bulk action option to make changes.
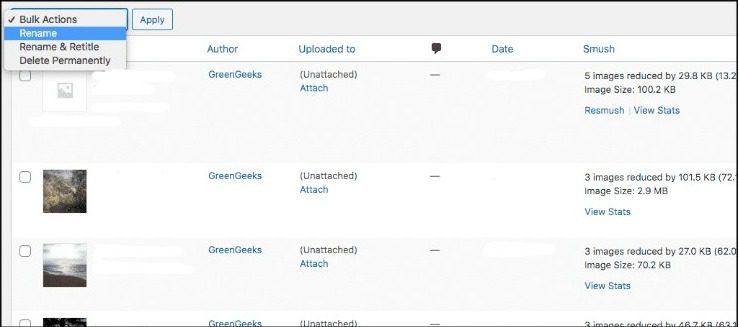
6- Don’t forget to click on the apply button to save changes.
2) Using FTP
Many designers or developers don’t prefer using plugins for such tiny tasks, which is fair. So, here is our first and most recommended method that you can use.
- Initiate the process by connecting your site with FTP. You can use any FTP client like FileZilla or Cyberduck for this. You will also need your FTP credentials, like hostname, username, password, or port number, to access the connection. If you are a beginner and don’t know how to do it, you can use the file manager provided by your hosting company.
- After that, navigate to the wp-content/uploads directory. This is where WordPress stores all your uploaded files. The directory structure may look like “wp-content/uploads.” Go to “uploads,” inside upload, you’ll find folders organized by year and month.
- Now, access your desired folder from the uploads and find the image you want to rename.
- Right-click on the image file you want to rename and select the “Rename” option. Alternatively, you can click on the file once to select it and then press the “F2” key to rename it.
- Enter the new filename and press Enter.
- After renaming the image file, you can verify the changes by accessing the image through your website’s media library or browsing its URL directly.
In some cases, renaming the file directly on the server may not update WordPress’s media library. If this happens, you may need to log in to your WordPress admin dashboard, go to the Media Library, and click on the image. WordPress will attempt to locate the file with the new name. If it doesn’t find it, you must click the “Edit” button and update the file URL manually.
If you are also facing the error “the uploaded file could not be moved to wp-content/uploads“ read to fix.
Final Words
This article helps you find how to rename images in WordPress. You may also want to see our exquisite guide on hiding wordpress featured images or fixing the error wordpress feature images not showing.
You May Like:
How to add a PayPal link to WordPress | 2 Easy Ways
What is WordPress SEO | Tips to Improve Your Ranking
Till Next!
I am Sure You'll learn Alot..
- Autoptimize vs WP Rocket: Pass Your Core Web Vitals! - January 14, 2025
- How to Hide Page Title in WordPress Elementor (2 Simple Methods) - December 21, 2024
- How to Rename Images in WordPress (Change After Uploading) - December 20, 2024