It doesn’t matter what type of website you are running or creating, duplicating a page and saving it as a template for later use is a great initiative that you can take to save your time and effort. So, how will you save the whole page as a template in Elementor?
Don’t worry, this is something we are about to discuss in our today’s quick guide today. Buckle up your sleeves and get ready to repurpose your content by duplicating the entire page instead of copying and pasting each time.
How to Save an Elementor Whole Page as a Template?
Follow these Steps to save the whole page as a template in Elementor.
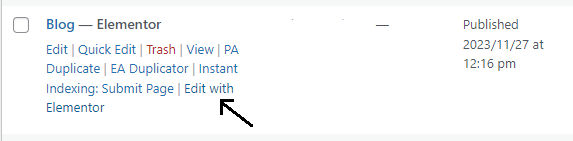
Step 1: Open the Page
To save a whole page as a template, you need to open it up first. However, you must be assured to open the page with Elementor to edit or duplicate it entirely.
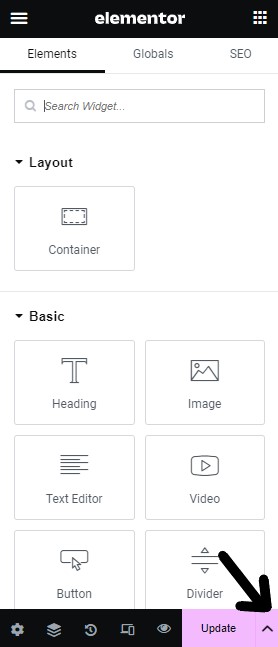
Step 2: Find The Arrow Button
When you open the page with Elementor to save the whole page as a template, a new screen will appear where you need to scroll a bit.
Find the publish or update button at the bottom left of your screen.
Beside this button, you will see a little arrow on the right side.
Step 3: Save Whole Page As Template
As soon as you click on that arrow, a menu will appear where you need to select “save as template”.
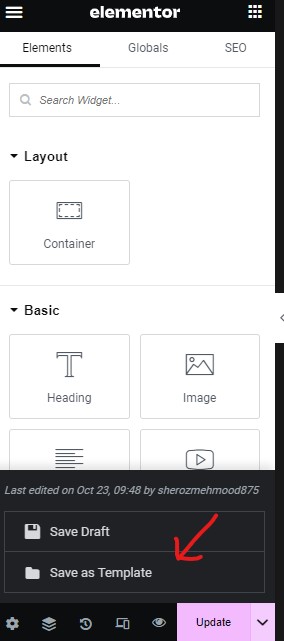
That’s it, the page is duplicated now and ready to appear in your template library. However, you can also name that page as of your choice; there is no restriction. And we recommend doing so. It will help you to find the template quickly.
How to Insert Your Saved Templates in WordPress?
Suppose, you saved the template and now want to reuse it. Here is what you need to do next.
- Open up the page with Elementor
- Click on the folder icon on the widget area and select “My templates” from the given menu.
- A list of all of your saved templates will appear.
- Select your desired template.
- Before you move forward, you will be asked whether you want to import the document settings. So, select your desired information depending on your needs and you are good to go.
Simple as that!
How to Customize a Template?
Once you import the template in WordPress, it’s super easy and flexible to customize.
For instance, from the sidebar, you can edit content, links, typography, images, or any other part of the page. By using the plus icon, you can also add more blocks to your page.
You can also modify the design, text, fonts, or color schemes – it’s totally up to you.
Final Thoughts:
Before we wrap up today’s discussion, it’s worth mentioning that any of the templates you uploaded won’t appear the same way as on the original page. There would be some minor changes in the design that you need to customize accordingly.
So, if you face any other issue, do write in the comment section; we would love to assist.
Till Next!!
I am Sure You'll learn Alot..