When you install WordPress, by default, a login URL will be created. And it will be like “https//yourdomain.com/wp-admin.” After this Post, You can Create a Custom WordPress Login URL.
Whether you want to do this to increase your site security or to protect your site from hackers, it’s entirely possible, and this is something we are about to discuss in today’s guide.
So, let’s dive deeper and find out the step-by-step guide to make a custom WordPress login URL.
Why You Should Change Your WordPress Login URL?
WordPress is the most popular CMS around the Globe to make websites. However, it is also a most hacked one.
According to a survey, around 13000 websites are hacked per day, which means 4.7 million websites are being hacked each year. Source: betterstudio.com
So, this is a huge number, but fewer security checkups can reduce its chances.
One of them is to create a custom WordPress Login URL. In this way, it will be harder for a hacker to find the login page of your website.
Although it doesn’t guarantee protection, it can be a beneficial step to improve security.
So, making a custom WordPress login URL is completely worth it.
How to Create a Custom WordPress Login URL?
The biggest reason behind it is the availability of a wide range of plugins. Also, WordPress is not difficult to use due to its user-friendly interface.
These plugins are helpful for making a bunch of customizations even without any prior knowledge of coding and with simple drag and drop. Not only this, but most of these plugins are completely free to use. Fewer of them are paid and have their pirated versions available in the market. However, using nulled plugins is not safe at all.
So, let’s dig in and find out the simplest way to make a custom WordPress login URL.
Step 1: Create a Backup
Although there are just fewer chances to mess up the process, creating a backup before you head over is highly recommended.
For instance, if anything goes wrong, you will be able to use the backup to restore your site.
For it, we suggest you use the Updraft plugin.
All you need is to install and activate the plugin and follow the instructions to make a backup of your site.
Step 2: Install and Activate the Plugin
There are various plugins available in the market. However, as promised, we will be sharing a free resource to change the WordPress login URL.
In this regard, the plugin we recommend is WPS Hide.
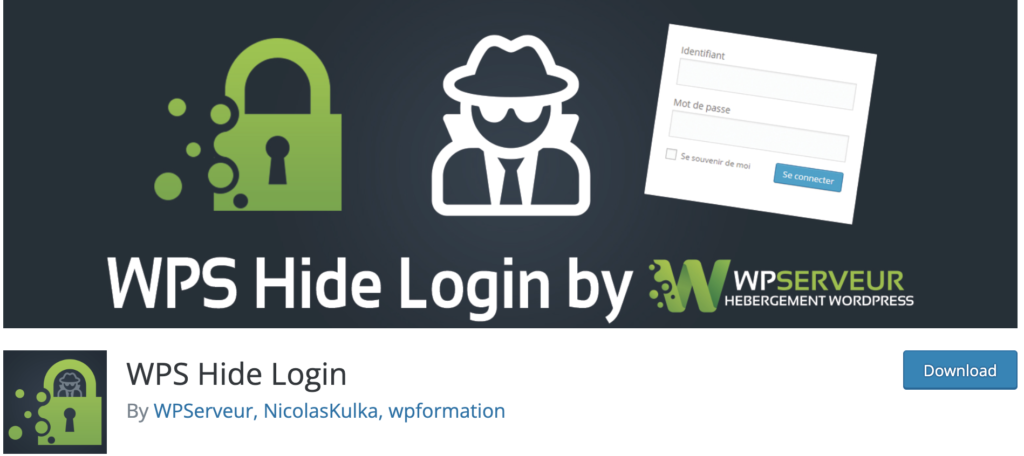
It is one of the most popular resources to help change the login URL.
All you need is;
- Login to your WordPress dashboard.
- From the left side menu, go to the plugins and then add new.
- Search for the WPS Hide using the search box.
- Click on Install Now to make the plugin available on the dashboard.
- Once done, ensure that you activate the plugin to start using it on your site.
Step 3: Configure Plugin
Right after installing a plugin, it’s time to configure the plugin, where you will make necessary changes to ensure creating a custom WordPress login URL.
For this,
- Go to the installed plugins section and find the installed WPS Hide plugin.
- Click on the settings option available under the plugin.
- A screen will appear where you will find the two options – Login URL and Redirection URL.
- Here, you need to put any memorable keyword under the login URL so that every time someone tries to log in to your site, they will need to access your login URL first.
- Under the redirection URL, you can use any of your site pages or 404 to display so that unauthorized login access has been sent to that page. For example, whenever a person tries to log in to the site using the default wp-admin login URL, they will be redirected to 404 or any other page of your site.
Once you are satisfied with the configuration, click on the save changes to ensure settings.
A confirmation message will also appear stating, “Your new login page is here.”
Step 4: Test URL
Once you are done with the settings and have updated the URL.
Now, it’s time to test.
And to do so;
- Logout to your WordPress website
- Enter the new login URL
- Write your credentials
- Hit the login button
If it is working fine, share it with your team and update the bookmarks as well.
The Bottom Line:
To conclude, creating a custom WordPress login URL without any plugin is also possible, but it is also trickier. You have to consider many factors, especially if you are a noncoding person.
Anyhow, using a plugin that doesn’t even cost a penny is always recommended.
Hopefully, you won’t face difficulty in changing your login URL. If not, write your query in the comment section.
We would love to assist.
Till Next!

Do Subscribe the Newsletter and Push Notification Because we'll share premium knowledge about web here for free.