We often have to make changes to our website to improve the user experience, to test certain things, or for any other reason. But nobody would wish to do this online and wonder how to work on a WordPress site without going live so that you don’t have to bear the consequences, Right?
Well, this concern is quite oblivious. Whenever we make changes to our site on the backend, it shows effects in the front end, which can instantly annoy your users because your site is live. Visitors kept visiting and seeing your content. Especially if you have an eCommerce site, you have to bear severe consequences. So, to save yourself from this unexpected hassle, here we have a guide for how you can make changes to your WordPress site without going live.
Remember, these changes could be about anything, either the change of a plugin, theme, or anything else; you can conveniently make changes without going live. So, roll up your sleeves before we get into these super exciting ways.
Can You Work on a WordPress Site Offline?
Your first and foremost concern is whether you can work offline on the WordPress site.
So, it’s a huge yes. You can work on your WordPress site without going live. Sometimes we want to test a plugin, code, or theme, and we just think it’s impossible because any little change would be shown to our user. Now you can make multiple changes to your site without the worry of noticing embarrassing mistakes by the users.
You can achieve this by putting your site into maintenance mode, staging, or creating a local website. All of these methods we will discuss in today’s guide. All you need to do is stick with us till the end.
How to Work On a WordPress Site Without Going Live?
As a professional web developer or website owner, you want to play safe, and there is no harm. Rather than putting the user experience and the site worth in bad condition, it’s better to test certain things on the back end. And here in today’s guide, we will tell you how you can do this exactly but in a different way. So, let’s find out together.
(Method #1) Using coming soon or under maintenance mode:
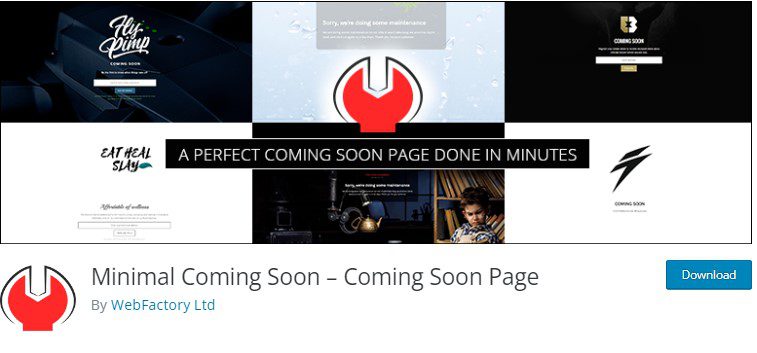
One of the most common and easiest ways to work on a WordPress site without going live is to put your website under construction. Using this method, you don’t have to worry about user experience or front-end changes, as you have simply displayed a message that your website is under construction or simply used a coming soon banner. Through this method, you could make necessary changes to your WordPress site without worrying about instant saving.
Suppose you are wondering whether you would be able to see your website. Don’t worry, as you will be an admin of the site, which means you can see your site normally, but that custom message will be for the normal visitors who would try to access your site. But you will have complete control over the site to add text, images, logos, or anything else.
Good to know: A coming soon page will be a simple page with a coming soon, or the website is under construction with your brand logo and the perfect addition of brand colors that would match your brand identity. You can achieve this task by using a coming soon plugin; this will give you great control to make the necessary changes just as you wish but with ease.

(Method 2) Use staging feature:
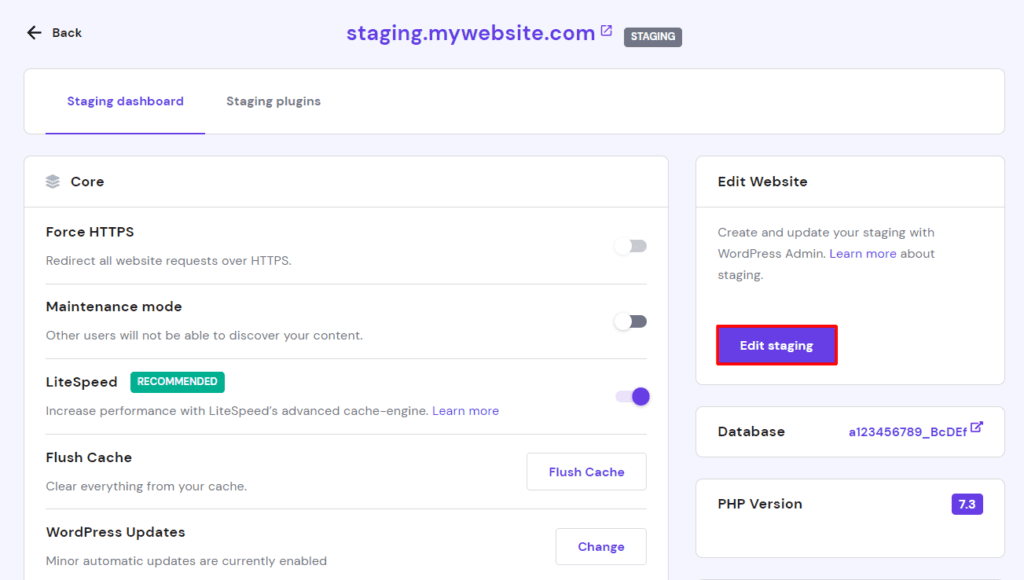
This is the most recommended method, but the only downside is that not all hosting providers provide this option. So, you may not have this feature on your website. For example, only great web hosting offers this option. Just like Wpengine, Siteground, Kinsta, and Bluehost provide this option.
Under this staging method, with just one click, you can copy your website to a special URL where you can make the necessary changes. Moreover, this method is more challenging. You would also be able to get back your site from the changes; you made before. Creating a staging website will also let you test and preview the changes before applying them to the website. That’s why it is the preferred practice adopted by web professionals. All you need to do is click on create a staging website that will sync changes you make with your live site.
Remember staged site will be a hidden site that will remain private, not public, so that you can take complete advantage of testing, previewing, and what else you look for.
How to do Staging using Bluehost:
Various hosting services are available in the market, and we can’t describe each. That’s why here we have taken Bluehost as an example, but the main procedure will remain the same, so you can also do this by applying more or less the same features.
So, to use the staging feature, all you need to do is
- Login to your WordPress dashboard and then install and activate the BlueHost plugin
- Once you install the plugin, you will see the Bluehost menu option at the left sidebar of your website. If you don’t see this option, you can log in to your hosting account to activate the Bluehost plugin option under the managed site button.
- Once you get this Bluehost menu option; next you can find the staging option.
- After that, you need to click on create staging, and the staging process will get started.
- Now, preview the changes which you were looking for.

Suppose you are done with the settings and have checked all of the futures or changes you wished for; now, you can go to the same staging page under the Bluehost staging tab and deploy all changes.
(Method 3) Create a local website:
Suppose you have active users who keep visiting your site, and the changes you want to make will take more days. You probably think that putting your site under construction mode wouldn’t be a good idea, especially if you have an eCommerce site, because customers will keep visiting your site. Zero visitors mean zero, which is a complete mess. So, here is another option to try where you can create a local website.
Under this method, you will create a local version of your website so that you keep the site officially accessible to the user but can make significant changes to the local version just because all the changes are going to happen in the local version so that it won’t hurt the main website, and it will remain the same.
(Method #4) Use any other domain:
The fifth most important way to work on a WordPress site going live is to use a subdomain or create a new domain for your website. This method is quite similar or contrary to creating a local website. But, suppose you find it challenging to create a local website or want to prefer any other legit way instead of trying out a local copy of the site; then this method is for you.
Similarly, using or creating any other subdomain is easy because you don’t have to worry about moving the different files and folders from two servers (local to main). You can do this using one single server for both old and underdeveloped sites.
(Method #5) Use theme switching plugin:
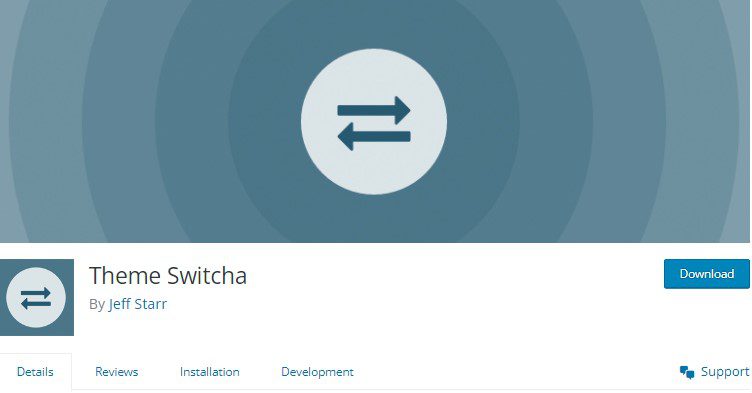
If you are not satisfied with the theme being used on your site and your primary concern in working on your WordPress site without going live is to change the theme, nothing else. In this case, using a plugin to switch themes is the most convenient and goes to method for you.
Using a plugin, you can keep your site active for the current visitor but can also create a theme at the backend for the admin, where you can configure the settings to check whether it suits your needs. The website will remain the same until you hit the switch theme button.
To achieve this, you can use a plugin named “theme switch,” and all you need to do is
- Choose an appropriate theme
- Install and activate the plugin
- Go to the plugin dashboard and enable the switching option

You are all done and can change the WordPress theme site without going live.
Good to know: by changing the theme, you will also lose the content. So, this isn’t the rest of the case. It’s impossible because your content is stored in the database, not on the theme. However, some precautions for it you might have to take where getting backup of your site is most important.
Bottom line:
For any WordPress user, it’s pretty common to make changes. When it comes to working and making changes on a WordPress site without going live; it’s also possible for you to do it.
Once you have various options, you won’t struggle and can do this easily. You can try any of the methods described above and let us know in the comment section which method works for you.
- Best Visual CSS Live Editor Plugins for WordPress (2025 Update) - September 9, 2025
- Benefits Of Improving Your Web Design (2025 Updated Guide) - September 9, 2025
- How to Add Custom Fonts in Elementor Free | 3 Step Guide Using a Plugin|(2025 update) - September 8, 2025


2 Comments