Almost every WordPress designer must have incorporated this issue once in their life when they made any significant changes to the site, but they are not showing to the front end.
Well, the cache is the most obvious reason why WordPress changes are not showing to you. It could be either a browser, server or CDN cache.
However, this can’t be the only way to fix WordPress changes not showing errors. There can be some other reasons, too, that we will discuss in today’s detailed guide.
So, let’s dig in!
Why is My WordPress Site Not Showing Changes?
There are a couple of reasons why your WordPress site might not be showing the changes you’ve made. However, the most common culprit is caching.
It’s because caching stores a temporary copy of your website’s files to improve loading speed. This means that sometimes, even after you make changes, the cached version is what gets served up to visitors (and you) instead of the updated version.
However, if you have tried clearing the cache but it didn’t work then you should also check some other potential causes of which WordPress changes are not showing to you.
It includes incorrect file or folder permissions, conflicts between plugins, or theme compatibility issues.
How to Fix WordPress Changes Not Showing Issue?
Following are the possible ways to fix WordPress changes not showing issues. If one doesn’t fix the error, move to the next until you find the culprit.
So, without further ado, let’s start.
Force Refresh Your Browser:
Most of the time, your web browser holds a cached version of your website to load pages faster. This can make it seem like your changes haven’t gone through. To fix this, simply do a hard refresh to download the latest version.

All you need is to;
- Press Ctrl + F5 (Windows) or Cmd + Shift + R (Mac) on your keyboard.
- Also, click the refresh button while holding down the Ctrl key (Windows) or Cmd key (Mac)
This will bypass the cache and forces the browser to download the latest version from the server.
Clear Cache:
Hard refresh will only reload the current URL, and if the cache persists then you need to try the next method, which is to clear the cache.
Here is the general breakdown of the types of caches you might need to clear and how to do so.
Browser:
Every browser stores temporary files from websites you visit to improve loading speed. That’s why if refreshing the browser doesn’t work for you, then you need to clear the browser cache manually.
So, clear your browser cache according to your browser’s settings menu.
The exact steps to clear your browser cache will differ depending on which one you’re using. Suppose you are using the Chrome browser.
- Open Google Chrome on your computer.
- Click on the three vertical dots in the top right corner of the browser window. This is the menu button.
- Select “Settings” from the menu.
- Scroll down to the bottom of the page and click on “Privacy and security.”
- Click on “Clear browsing data.”
- A pop-up window will appear with several options for what data to clear.
- Make sure the checkbox next to “Cached images and files” is selected. You can also choose other browsing data to clear, like browsing history or cookies, if you want.
- Choose the time range for which you want to clear the cache. You can choose options like “Last hour,” “Last 7 days,” “Last 4 weeks,” or “All time.”
- Click on “Clear data” at the bottom of the window.
Alternatively, you can also use the shortcut keys to open the cache settings, such as Ctrl + Shift + Delete (Windows) or Command + Option + Delete (Mac) on your keyboard.
Server:

Sometimes, the hosting providers can also encourage server-side caching. This will ultimately interfere with delayed changes.
If none of those mentioned above methods work for you then you need to check your server side settings.
Reach out to your hosting provider, inquire about server settings or caching issues and they will most probably solve this problem on their own.
CDN:

A Content Delivery Network (CDN) like Cloudflare caches static content from your website on servers around the world. This speeds up loading times for visitors in different locations. However, sometimes, that cached content can become outdated, causing your WordPress changes not to show up immediately.
That’s why you need to clear the CDN cache to fetch the latest version of your website files.
Here’s how to clear the CDN cache using Cloudflare:
- Go to https://dash.cloudflare.com/ and sign in to your Cloudflare account.
- From the Cloudflare dashboard, select the domain name for your WordPress website.
- In the website settings, look for a section labeled “Cache Management.”
- Within the Cache Management section, you’ll find an option to clear the cache. This might be labeled as a “Purge Cache.”
- A pop-up box will appear where you can enter up to 30 websites to purge data.
- However, if you want to purge the whole site instead of some specific pages, then you can also double-click on “purge everything” to start the process.
It will potentially solve your problem, and your WordPress website will start updating the changes.
Configure Theme and Plugins Conflict:
Sometimes, a plugin or theme can interfere with how your changes are displayed. To diagnose whether they are being culprit or not, all you need to do is;
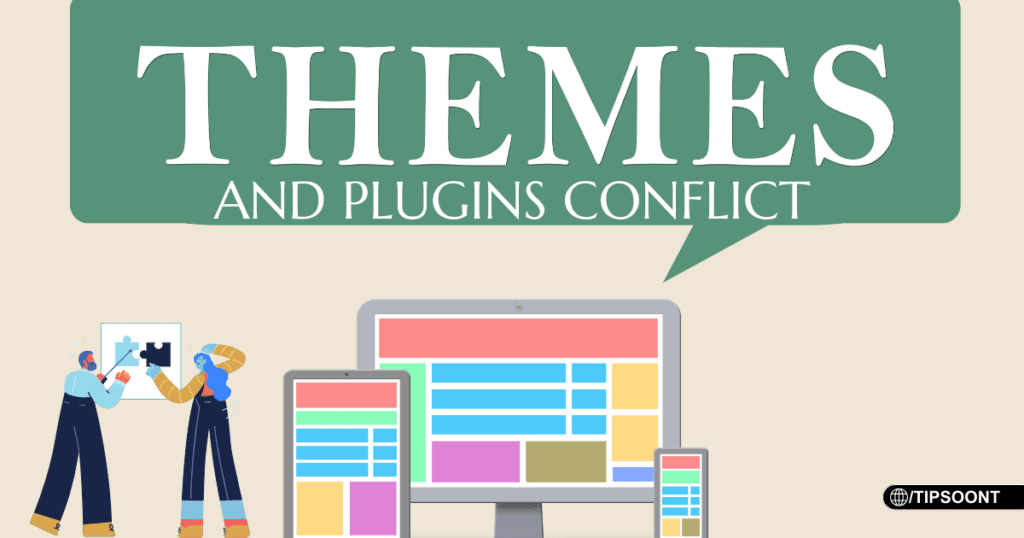
- Temporarily turn off all your plugins and see if the changes appear. If they do, then reactivate your plugins one by one to identify the problematic ones.
- If this doesn’t solve the error then also try activating a default WordPress theme like Twenty Twenty-Three. If the changes show up, then there might be an issue with your current theme that you need to fix.
Check Location Where you Have Made Changes:
It might seem obvious but another most common way to fix this error is by double checking that you are editing the correct page or post. Because sometimes, drafts and unpublished changes won’t be reflected on your live site. That’s why make sure you’re publishing or updating the content you want to see live.
Incorrect Saving or File Permissions:
In rare cases, incorrect file permissions on your WordPress files can also prevent changes from being saved properly.
To fix this error, you can use any of the FTP clients like FileZilla and set your directories permission to 755 and files permission to 655. Conversely, you can also use any of the file manager tools or your cPanel.
However, if it seems a bit technical to you, then we suggest consulting your hosting provider and asking them for help adjusting file permissions.
DNS records are not propagated:
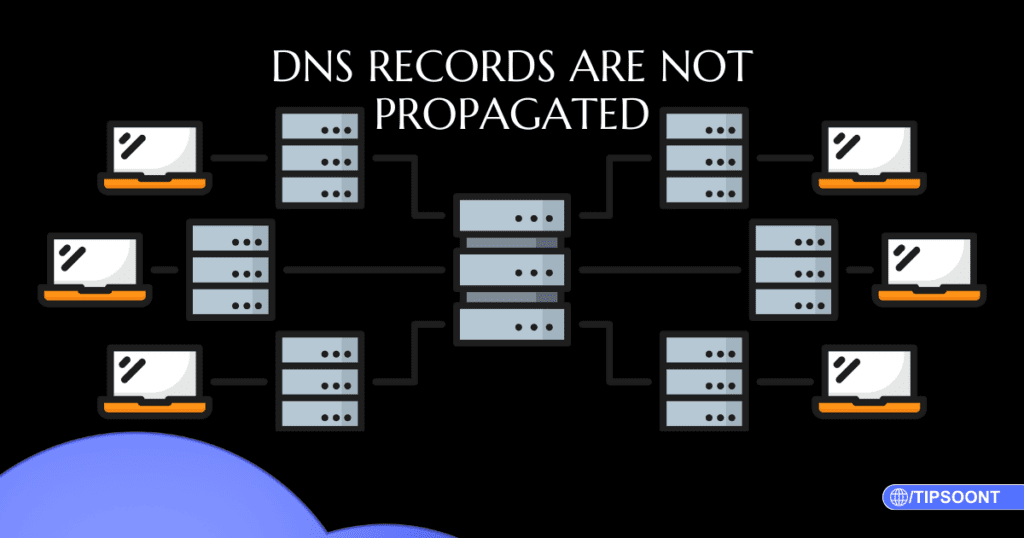
If you have made any significant changes to the site, such as changing your domain name server (DNS), then it’s quite obvious that your changes might not show up. This means visitors will also see the old version of your site for a while.
Allow some time for the DNS changes to take effect, as DNS can take some time for the changes to propagate around the internet.
Open Correct URL:
This is a less common cause that can lead to the error, but it still can appear, especially if you are replicating a website or webpage. That’s why you must ensure you are trying to access the correct URL after making changes. Any typo can lead you to believe changes are not showing up.
Final Verdict:
In conclusion, if your WordPress changes are not showing up to you, the most obvious reason could be the cache. However, we have also mentioned some of the other possible reasons that can cause to affect the updates you are trying to make.
Do share your thoughts in the comments below on which method works for you.
You May Like:
How to Check Laravel Version (The Quick and Easiest Way)
How to Hide Page Title in WordPress Elementor (2 Simple Methods)
Till Next!
- Master Affiliate Marketing Without Showing Face: Your Faceless Guide to Online Income - September 12, 2025
- Best Visual CSS Live Editor Plugins for WordPress (2025 Update) - September 9, 2025
- Top 12 Benefits Of Improving your Web Design (2025 update) - September 9, 2025


