An image slider or carousel could be a great way to showcase your website essentials to the readers. Especially if you are creating an e-Commerce website, then the slider can perform wonders in retaining customers. But the question is how to add an image slider in elementor.
So, in today’s guide, we will discuss the step-by-step process of adding an image slider using elementor premium or free version. All you have to do is stick with us till the end.
How to Add an Image Slider in Elementor?
As elementor lets, you add an image slider or carousel with the help of simple drag and drop without creating any HTML or CSS classes. So, it’s becoming the preference of any beginner or an expert. But, the question arises if you could create an image slider using the elementor free or premium version. Remember, you can add an image slider using elementor premium, but if you want to add it using the free version, you must use a plugin. Don’t worry; we will discuss both here.
Let’s get a deeper dive into it.
You can follow these steps if you have a premium version of elementor and want to add an image carousel or gallery.
- Login to your WordPress Dashboard and create or open a page where you want to add a slider.
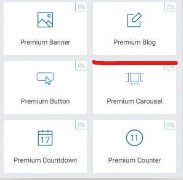
- First, drag and drop the image carousel widget to the canvas area.
- Different styling options and ad configurations will appear on the left sidebar, which you can use to customize the image slider.
- First of all, add some images to your carousel. Either upload it from your computer or use your media library – both options are available.
- After selecting the images, you can also change the order, title, or description of your images.
- Once you upload the images, use the various features below to customize your carousel.
- By default, some of the settings will be enabled, which you can change to make your image slider look more customized.
- Once you have settled on the slide size, the number of slides you want to show up, their navigation, and caption, move on to the styling feature.
- Next, under the styling feature, you can customize the alignment, color, or typography of your given titles, captions, or descriptions.
- Moreover, you can also check the additional options to make your carousel more customized. Under these, you can use and set the different Autoplay, pause, hover, speed, animations, and effects of your image slider.
- Furthermore, you can navigate the advanced section and change your added image carousal’s positioning, background, or attributes.
That’s it! Now you are all done with adding an image slider in elementor pro. Remember to save and update the changes and see the final look.
2- Add image slider using elementor free version:
You might get worried that you don’t have any premium version of elementor then how would you be able to create image sliders or galleries on your WordPress site? Well, don’t worry. Remember, you can still get access to any of the premium features of elementor but you have to use a plugin for it. If you are some of those who don’t have a premium version of elementor, then this method is for you. Where you can add an image slider in elementor free using a plugin.
All you have to do is;
- Login to your WordPress dashboard, and then you need to install a plugin.
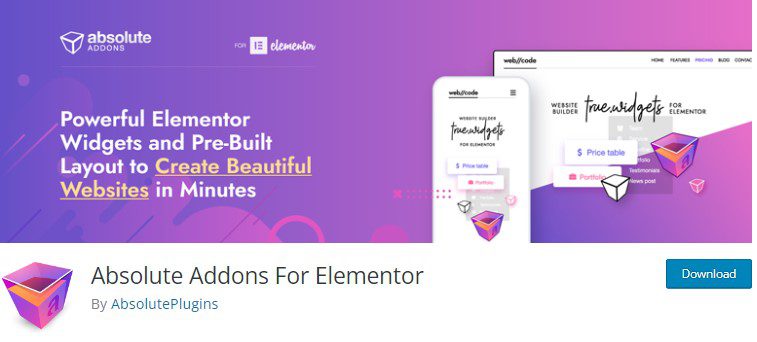
- We recommend using the plugin named “absolute add” don’t worry. This plugin is available in a fermium version, but the image carousal widget is also available in the free version. So, install and activate it.
- Once done, you need to open or create a page where you want to add an image slider or carousel.
- Here you will get a plus icon; click on it and a section of the widget will be created.
- Drag and drop the dragon or general widget to the canvas area.
- Here, choose the slider type you want to add here, as the absolute add-on offers 6 different styles. You can access this feature using the template menu.
- Moreover, you can also change the aspect ratio of your slider using the content tab. Under the content tab, you can also disable or enable the different slider options – it completely depends on your preference for how you want your carousal to look.
- Now, under the “content menu,” you can add more than one image to make it a slider. Select or upload the images from a computer or media library, depending on your need.
- Once you select and upload the images; next go to the slider option menu to customize your image carousel. In the left sidebar, plenty of features are available where you can enable or disable the Autoplay, loop, speed, and direction of your carousel. What’s more, you can also choose the distance between your added images and apply different fade-in or sliding options.
- Once you are done with the settings under the options menu – up to your choice, now, it’s time to give some styling to your WordPress slider.
- Under the styling section, you can customize the carousel using different border types, colors, margins, and much more. You can also change the settings from normal to hover conditions.
- The same goes for the image and overlay section, where you can add different border types, shadows, margins, and many more.
That’s all you have to do. Your WordPress image slider will be ready to show up. Save and update the settings to view the final look. Remember, plenty of other plugins are available that you can use, and you can add an image slider in elementor without hassle.
Ready to Add An Image Slider In elementor:
Undoubtedly, an image slider is a perfect way to showcase your variety of products with a slight brief content about the product. That’s why you should get the privilege of this exquisite feature of elementor.
If you stick with us till the end, we are sure you got the answer to how to add an image slider in an elementor free or premium version. And if you enjoyed reading this guide, subscribe to our newsletter to keep reading more exquisite helping posts. Got any further queries? Do write in the comment section. We would love to be there.
Recommendation
Create Different Font Sizes in One Text Using Elementor – With or Without Using Classes
How to Change the Link color in Elementor With or without CSS Code
Till Next!

Do Subscribe the Newsletter and Push Notification Because we'll share premium knowledge about web here for free.
- GeneratePress vs Neve: Theme Comparison for WordPress Users (2025) - July 12, 2025
- Step-by-Step Guide to Building an Unblocked Games Website (2025) - July 12, 2025
- Vultr Cloud Hosting Review: Features, Pricing & Verdict (2025) - July 12, 2025